Welcome to Make Your Own Mouse Mansion — the complete video series where Karina guides you through every step of building your very own miniature mouse house, from an empty cardboard box to a fully furnished, decorated home. This is Part 1 of 6, and the very beginning of your adventure. No experience needed — just enthusiasm and a good box!
- Part 1: Choosing Your Box, Planning Rooms & First Cuts
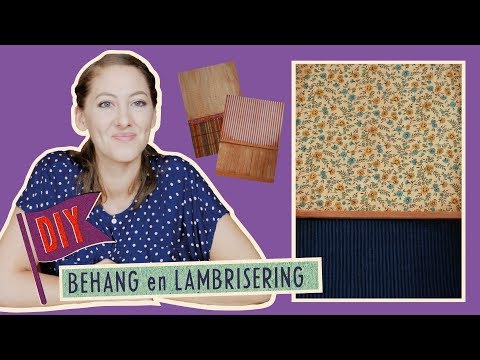
- Part 2: Wallpaper, Wainscoting & Floors
- Part 3: Building Your First Furniture
- Part 4: Decorations & Small Details
- Part 5: Windows, Doors & Finishing Touches
- Part 6: The Grand Reveal
What This Episode Covers
Every mouse mansion starts with a single box. In this first episode, Karina walks you through the very beginning of the process: picking the right box, deciding how many rooms you want, sketching a rough plan, and making your first cuts to create floors and walls. By the end of this episode, you'll have a basic structure — the skeleton of your mansion — ready to be transformed into a cozy miniature world.
Step by Step
Step 1: Choose Your Box
The perfect box is sturdy, the right size, and — most importantly — free! Look for a cardboard box that is at least 30 cm tall and 40 cm wide. Shoe boxes, shipping boxes, and moving boxes all work beautifully. Karina recommends boxes with a removable lid or an open front so you can easily see and reach inside your rooms. Avoid boxes that are too flimsy or have lots of printing on the inside.
Step 2: Plan Your Rooms
Before you start cutting, grab a pencil and sketch a simple plan. How many rooms do you want? Where will the kitchen go? The bedroom? Think about stacking rooms on top of each other to create a multi-storey house. Karina usually plans for 2 to 4 rooms in a single box — enough to tell a story, but not so many that the rooms become too small to furnish.
Step 3: Measure and Mark
Use a ruler and pencil to draw your cutting lines directly on the cardboard. Mark where your floors will be and where any dividing walls will go. Double-check your measurements — it is much easier to erase a pencil line than to fix a crooked cut!
Step 4: Make Your First Cuts
Using a craft knife (with adult help if needed), carefully cut along your marked lines. Cut out the floor pieces and wall dividers. Karina shows a simple technique for creating tabs on your floor pieces so they slot into the walls and hold themselves in place without glue. For a detailed look at this technique, see the full tutorial: How to Build a Mouse Mansion from a Cardboard Box.
Step 5: Assemble the Basic Structure
Slot your floors and dividers into place. Use a bit of tape or glue to reinforce any wobbly joints. Stand back and admire your work — you now have the basic structure of a mouse mansion! It may look bare and boxy right now, but in the next episodes you'll transform these plain cardboard walls into something magical.
What's Next?
In Part 2, Karina shows you how to cover those bare cardboard walls with beautiful wallpaper, add wainscoting for a classic look, and lay popsicle stick floors. Your mansion is about to start looking like a real home!


Comments
Be the first to comment!