Welcome back to Make Your Own Mouse Mansion — the complete video series! Your mansion is beautifully wallpapered, furnished, and decorated after Part 4. Now it is time for the finishing touches that take your creation from great to extraordinary. This is Part 5 of 6, and it is all about windows, doors, neat edges, and those final details that make everything look polished.
What This Episode Covers
Windows and doors transform a series of rooms in a box into something that truly looks like a house. In this episode, Karina shows you how to cut and frame windows, build tiny doors that can actually open, add neat borders to hide rough edges, and explore simple lighting ideas that bring warmth and atmosphere to your mansion. These are the details that make people gasp when they look inside.
Step by Step
Step 1: Plan Your Windows
Decide which walls will have windows. Back walls and side walls are the best candidates. Karina recommends at least one window per room — it gives each space a sense of connection to the outside world. Mark the position and size of each window with a pencil before cutting. For the complete detailed tutorial on this technique, see: How to Add Windows and Doors to Your Miniature House.
Step 2: Cut and Frame Your Windows
Carefully cut out the window openings with a craft knife. Then create frames from thin strips of cardboard or popsicle sticks. Karina shows how to make a classic four-pane window by gluing two thin strips in a cross pattern inside the frame. You can add a tiny windowsill along the bottom — perfect for placing a miniature plant pot or a clay pie cooling on the ledge.
Step 3: Add Window Glass
For a realistic glass effect, cut a piece of thin, clear plastic (from food packaging works perfectly) and glue it behind the window frame. You can also leave the windows open for easy access to the room. If your mansion backs against a wall, consider gluing a small picture or printed scene behind the window to create the illusion of an outdoor view.
Step 4: Build Doors
Doors add so much character. Karina shows two approaches: a simple painted-on door (drawn or glued onto the wall) and a functioning door that actually opens and closes. For a functioning door, cut a piece of cardboard slightly larger than the doorway and attach it with a strip of tape or fabric as a hinge. Add a tiny bead as a doorknob.
Step 5: Finish the Edges
Raw cardboard edges can spoil the look of an otherwise beautiful mansion. Karina covers exposed edges with strips of paper, washi tape, or thin cardboard painted to match the walls. Pay special attention to the front edges of each floor and the openings between rooms. For the detailed technique: Finishing the Edges: Neat Borders for Your Miniature Rooms.
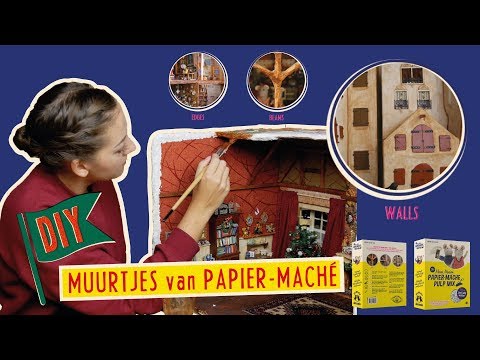
Step 6: Add Beams and Texture
Exposed ceiling beams give a room a cozy, rustic feeling. Karina makes beams from rolled papier-mache or thin sticks, painted brown and glued across the ceiling. You can also add textured walls for a plaster or stone effect. See: Making Beams from Papier-Mache and Papier-Mache Walls: Adding Texture to Your Rooms.
Step 7: Explore Lighting Ideas
Simple lighting can transform the atmosphere of your mansion. Karina suggests using small LED tea lights placed behind windows or inside rooms for a warm glow. You can also use a string of tiny fairy lights threaded through the back of the box. The light makes everything look cosier and more inviting, especially in photographs.
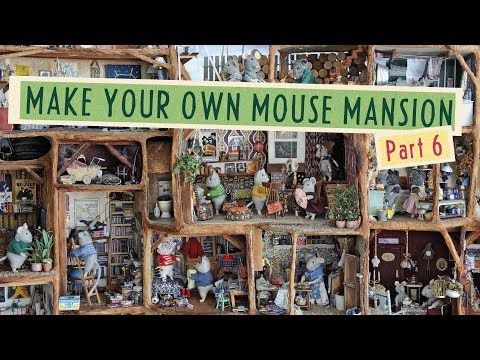
What's Next?
Your mansion is complete! In Part 6 — the final episode — Karina reveals the finished mansion in all its glory, shares tips for photographing your creation, and gives you ideas for sharing your work with the world. It is time for the grand reveal!


Comments
Be the first to comment!