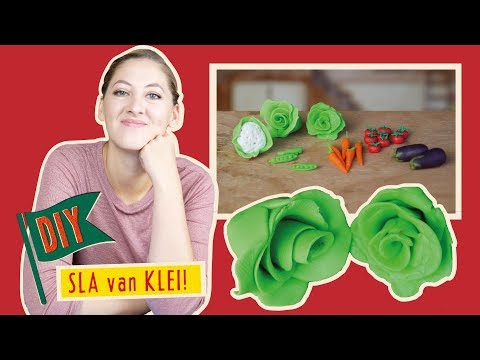
Miniature aubergines are such a pleasure to make. That gorgeous deep purple colour, the elegant teardrop shape — they are one of those miniatures that look impressive but are actually very simple to create. If you can roll a piece of clay into a smooth shape, you can absolutely make these. They are going to look beautiful.
Step by Step
Step 1: Form the Elongated Teardrop Shape
Take a piece of dark purple clay and roll it between your palms into an elongated teardrop — wider and rounder at one end, tapering gently toward the other. This is the classic aubergine silhouette. Take your time shaping it until it feels right. The smoother you can get the surface, the better it will look.
Step 2: Smooth the Surface
Gently roll and smooth the surface of your aubergine with your fingers. Real aubergines have that lovely sleek, almost glossy skin, so you want the clay to be as smooth as possible. If you see any fingerprints or bumps, gently press and roll them away. The smooth surface is what gives the aubergine its elegant look.
Step 3: Add the Green Cap with Small Leaves
Take a small piece of green clay and flatten it slightly. Shape it into a little cap with small leaf-like points radiating outward — this is the calyx at the top of the aubergine. Press it gently onto the narrow end of your teardrop shape. Make sure it sits snugly. This little green crown finishes the look perfectly.
Step 4: Bake
Place your aubergines on a parchment-lined baking tray and bake following the instructions on your clay packaging. Once cooled, they are ready to display. These little aubergines look wonderful in a miniature kitchen scene, on a market stall, or nestled in a tiny vegetable basket.


Comments
Be the first to comment!